
Wooden floors have a timeless appeal, adding warmth and elegance to any home. Over time, however, these floors can lose their lustre due to wear and tear. If your wooden floors are looking a bit tired and scuffed, floor sanding could be the perfect solution to bring them back to life.
In this comprehensive guide, let’s delve into the process of floor sanding and polish, its benefits, and tips for achieving a professional finish.
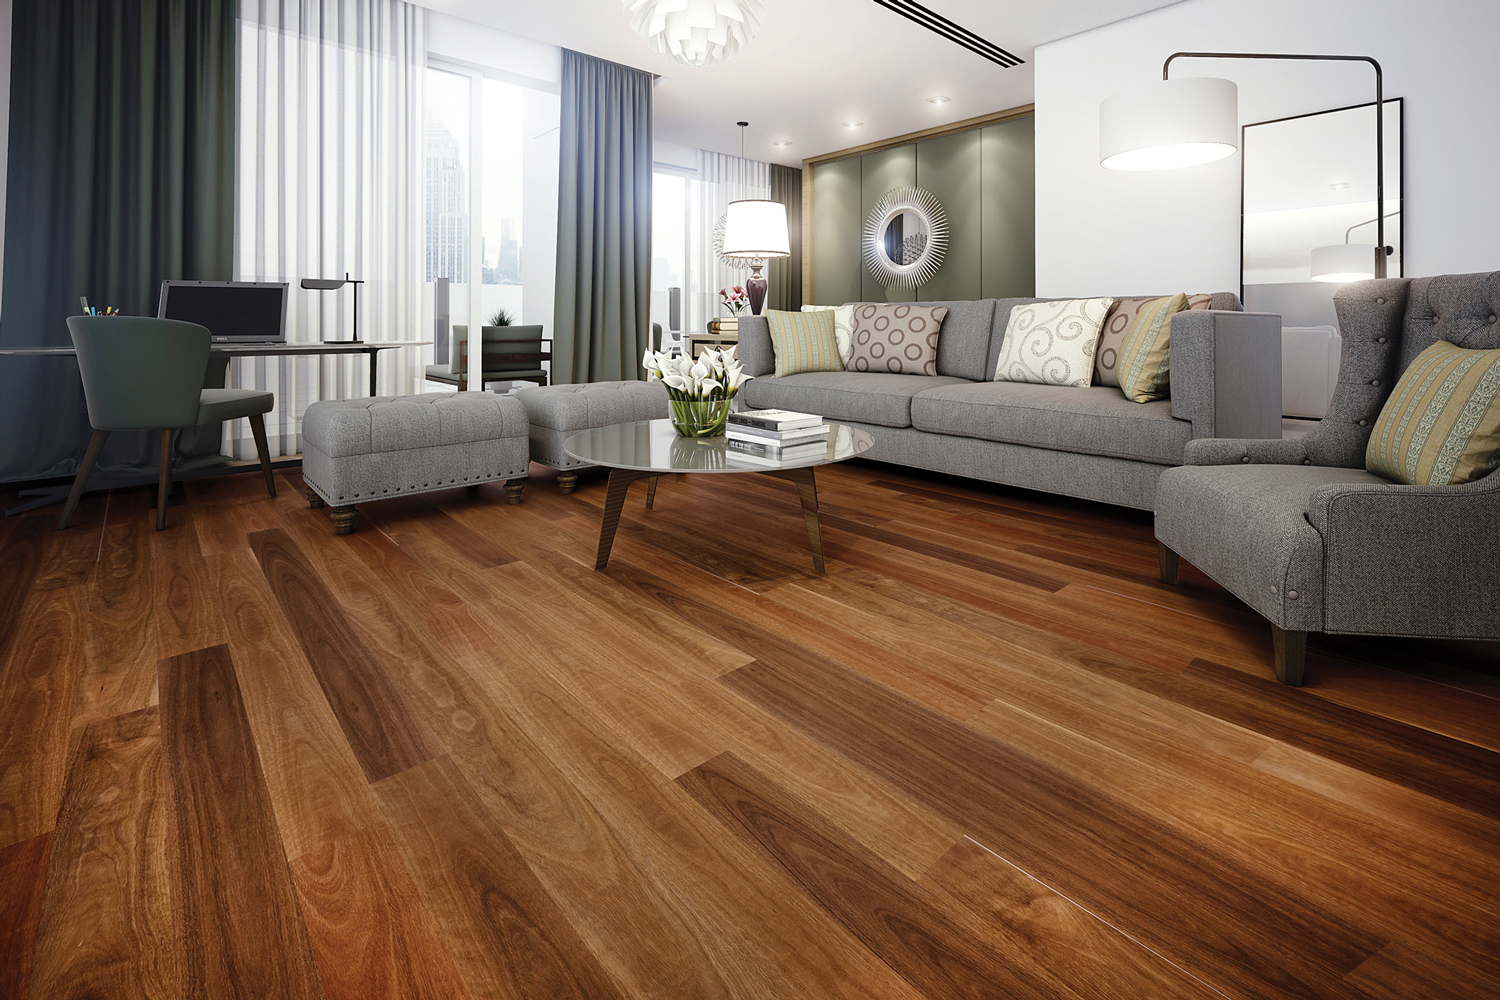
What is Floor Sanding?
Floor sanding is the process of removing the top layer of a wooden floor using abrasive materials, typically sandpaper, to reveal a fresh, smooth surface underneath. This procedure is followed by staining (if desired) and sealing the wood to protect it and enhance its appearance. Floor sanding can be done on various types of wooden floors, including hardwood, softwood, and parquet.
Benefits of Floor Sanding
- Restores the Beauty of Your Floors
One of the most significant advantages of floor sanding is the restoration of your floor’s natural beauty. Over time, wooden floors can become dull and scratched. Sanding removes the damaged surface, revealing the pristine wood beneath, and can transform your floors from worn-out to stunningly beautiful.
- Extends the Life of Your Floors
Regular maintenance, including floor sanding, can significantly extend the lifespan of your wooden floors. By removing the top layer of damaged wood and applying a protective finish, you can prevent further damage and wear, ensuring your floors remain in excellent condition for years to come.
- Enhances Home Value
Well-maintained wooden floors are a desirable feature in any home. Sanding and refinishing your floors can increase your property’s value, making it more attractive to potential buyers if you ever decide to sell.
- Improves Indoor Air Quality
Old wooden floors can harbour dust, allergens, and pollutants. Sanding your floors removes these contaminants, resulting in improved indoor air quality. This can be particularly beneficial for households with allergies or respiratory issues.
The Floor Sanding Process
- Preparation
Before you begin floor sanding and polish, it’s essential to prepare the area. Remove all furniture and cover any fixtures or areas that won’t be sanded to protect them from dust. Ensure the floor is clean and free of debris.
- Sanding
The sanding process typically involves several stages:
- Coarse Sanding: Start with coarse grit sandpaper to remove the old finish and level any uneven areas. This step requires a drum sander for large areas and an edge sander for corners and edges.
- Medium Sanding: Switch to a medium grit sandpaper to smooth out the surface and remove any remaining imperfections.
- Fine Sanding: Finish with a fine-grit sandpaper to achieve a smooth, even surface.
- Staining (Optional)
If you want to change the colour of your wooden floors, now is the time to apply a wood stain. Staining can enhance the natural grain of the wood and give your floors a fresh, new look. Be sure to follow the manufacturer’s instructions for the best results.
- Sealing
After sanding (and staining, if applicable), it’s crucial to seal the wood to protect it from damage and wear. There are various types of sealants available, including polyurethane, varnish, and oil-based finishes. Apply the sealant evenly and allow it to dry thoroughly between coats.
Tips for a Professional Finish
- Choose the Right Equipment
Investing in high-quality sanding equipment can make a significant difference in the final result. Renting professional-grade sanders from a local hardware store is often a good option if you don’t own the necessary tools.
- Take Your Time
Floor sanding is a meticulous process that requires patience. Rushing through the sanding stages can result in an uneven finish. Take your time to ensure each step is completed thoroughly.
- Follow Safety Precautions
Sanding generates a lot of dust, which can be harmful if inhaled. Always wear a dust mask and protective eyewear during the sanding process. Additionally, ensure the area is well-ventilated.
- Test Stains and Finishes
Before applying stain or sealant to the entire floor, test it on a small, inconspicuous area to ensure you’re happy with the colour and finish. This step can help prevent any unexpected results.
- Maintain Your Floors
Once your floors are sanded and sealed, proper maintenance is key to preserving their beauty. Regularly sweep or vacuum to remove dirt and debris, and use furniture pads to prevent scratches.
Final Words
Floor sanding is a highly effective way to rejuvenate your wooden floors, restoring their natural beauty and extending their lifespan. By following the proper steps and taking your time, you can achieve a professional finish that enhances the overall look of your home.
Whether you’re preparing to sell your property or simply want to enjoy the beauty of well-maintained floors, floor sanding and polish is an investment worth making.